Showing posts with label diy. Show all posts

Thursday, October 27, 2011

Crafty and Creative: DIY Jewelry


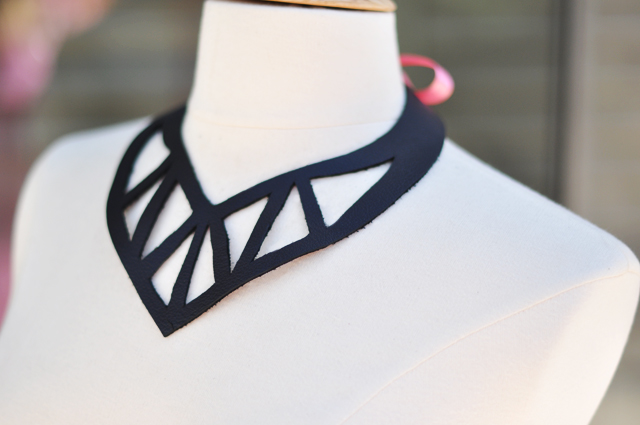
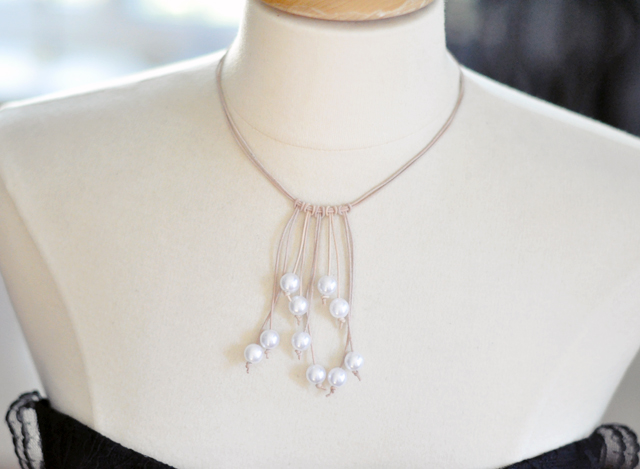
Alright, so its almost November. This is the time of year I tend to get a little anxious about the holidays. What to give, where to get it, ect. It's an awful lot of unessecary stress in my opinion. So with that in mind, and in plenty of time for you to get crafty for holiday gifting, I've gathered a round-up of some of the best jewelry DIY's I've come across. Now I forewarn you... every one of these are fabulous. You will want to make them all for yourself. So do. You deserve some extra gorgeousness in your life! And if you decide to let in that spirit of generosity, make one for a friend, or sister, or whatever amazing gal you have in your life. Just make them! You'll thank me when you do.




DIY Crystal Ball Drop Earrings {via ...Love Maegan}


I personally think this one would be great with leather instead of thread...


I don't know about you, but I am utterly inspired by all of these amazing, crafty gals. I am so ready to hit up my local craft store and get to creating some of these gorgeous little numbers. And most of these are great platforms for customization, to really make a unique piece. So fun! Make sure to check out the blogs of all of the ladies who took the time to put together these tutorials, each has great and inspiring content, and lots of other great DIY ideas!


♥ Jen

photo credits: {all via the respective project owners blogs} 1 & 2 3,4, & 5; 6 & 8; 7

Tuesday, October 18, 2011

Crafty and Creative: Craving a little DIY

So I have really been longing for a good DIY project. While searching through my various internet bookmarks for inspiration today I came across some great home decor DIY's, and I had to share some of the best with you. Next time you're in the mood for a little crafting or creativity... grab your tools {or your favorite handyman!} and give one of these projects a whirl!


How fab is this piece? A fairly simple box build. Home Depot will cut your wood to size for free, though you will still need to miter the edges on your own. Plus I'm thinking it could easily be adapted to function as a storage box as well. 


I have two of these little guys sitting in my garage right now, as they are none to pretty to look at. I'm thinking a perk me up with one of these simple sewed slipcovers could be an easy fix!


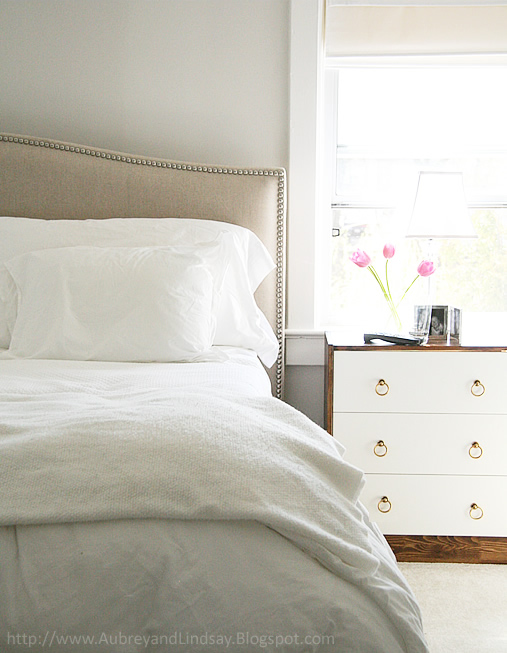
 I Loved this one! Nailhead trim, 2 ikea Lack side tables at $7 a piece, a rubber mallet, and some gorilla glue. DONE. 


Another mirrored project. Can you tell I'm craving a little *glam* in my world? Super easy, this one is made using 3x3" mirrored tiles, but you could easily use 12x12" tiles for a larger version.


Again with the Glam factor! So fun!


These pretty little numbers were inspired by a table from Anthropologie, which cost a pretty little penny. These were built using an $18 ikea chest, wooden legs, decorative molding, and knobs from Home Depot, and ran about $90 total. Not bad considering the inspiration piece was well over $500. Perfect for a small space~and they are just so pretty!


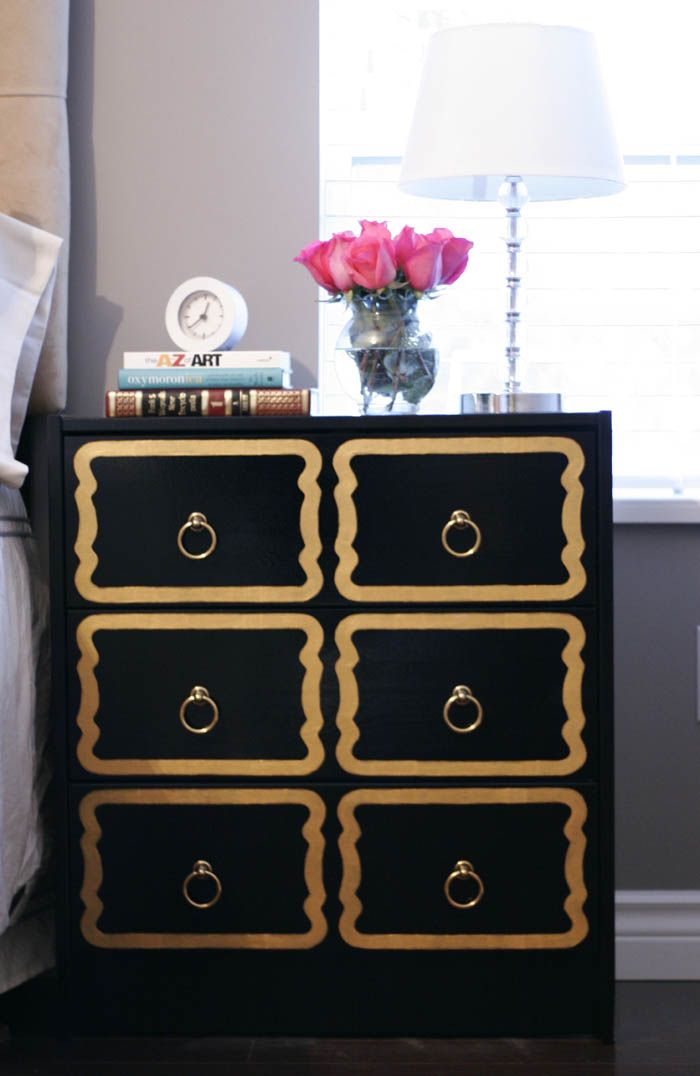
Makeover an Ikea Rast Dresser


Seriously? How fabulous are these? At $35 a pop for each Rast chest, you can afford to get a little adventurous in your creativity!


Last, but not least... Have a big blank wall? How about a DIY Floating Credenza~using Ikea Kitchen Cabinets! {photo via Made by Girl, excellent tutorial on this project via apartment therapy


What a great look! I don't have the space for this in our apartment, but will keep this project filed away in case I do someday. Are you inspired yet? I know I am! Now I'm just not sure what I want to tackle first!

♥Jen


Thursday, October 13, 2011

And speaking of glitter

Remember these? The fabulous glitterized pumpkins I was adoring? Well little one and I did have a little craft day over this past weekend. We gilded and glitterized some mini pumpkins and did some other cute crafties that I'll share with you soon.


We used metallic acrylic paint instead of spray paint for the gold pumpkins, as little ones and spray paint fumes don't mix. For the red and orange glitter ones, we used Martha Stewart Craft Glitter from a multi-pack we had on hand. Here is the tutorial again for those of you who missed it the first time around: Martha Stewart Glitter Pumpkins. These little pretties will be are beautifying our dining room table, at least until the pumpkin picking adventure next week!

♥Jen

Thursday, September 29, 2011

Crafty and Creative: Glamorous Fall Decor

When I opened my mailbox to yet another Pottery Barn catalog over the weekend, I actually had to stop myself from immediately dumping it in the recycle bin as I was captured by this cover image:


What a great way to use pumpkins, and the empty annual planters I've got sitting around now that the gloomy Seattle weather has killed the plants off. Then I recalled seeing this shot on Martha Stewart's Website awhile back...


Then I came across this


and this via pinterest


and that pretty much decided it. The little one and I are totally having a craft day this weekend. We are going to glitterize and glamorize some pumpkins. Yeah. And of course I'll take pictures of the glitter mayhem to share with all of you. And in case you would like to get going on some glittery fall goodness, Martha has a simple how to here.

So thanks for the inspiration, PB. I guess all those catalogs can be good for something after all! 

♥ Jen

photo credits: 1. Pottery barn via jen-uinelyinspired.blogspot.com 2. Marthastewart.com 3 & 4 via pinterest.com